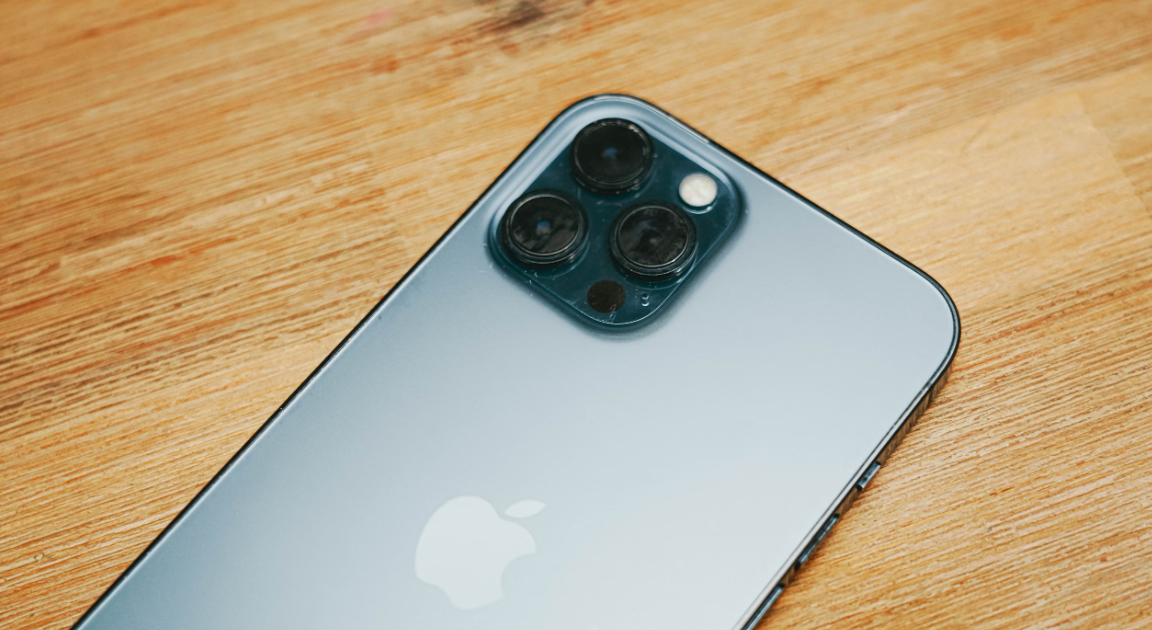
Smartphone failures disrupt daily routines and cost a lot of money. The users visit expensive service centers for minor hardware glitches. You can troubleshoot common issues and replace basic parts at home easily. Clear instructions and correct tools help you restore full device functionality safely. This guide covers essential hardware diagnostics, common fixes, and safe disassembly methods for home users.
Understanding Common iPhone Hardware Failures
Battery Degradation Problems
Lithium-ion batteries decay naturally after prolonged daily usage cycles. System settings display clear indicators when total chemical capacity drops.
- Device power drains rapidly within a few hours of light use.
- System performance slows down during heavy application processing.
- Physical battery expansion pushes the rear screen panel upward slightly.
A fresh internal replacement unit restores full system power and extends total device lifespan.
Display Screen Fractures
Accidental drops shatter top glass panels and damage inner touch sensors. Cracked glass allows moisture and fine dust particles inside the device housing.
- Touch screens reject finger swipes or register random ghost taps.
- Dark ink spots spread across the inner display panel area.
- Bright vertical colored lines flicker across the image screen constantly.
Minor surface glass cracks remain temporary usable, but deeply damaged display units require complete replacement.
Charging Port Obstructions
Charging failures often stem from accumulated dirt rather than broken internal circuits.
- Power cables fit loosely or disconnect from the bottom socket easily.
- Battery charging starts only when you bend the cable at odd angles.
- External speaker sound output feels muffled or completely silent during calls.
Checking internal port cavities under bright light helps you spot compressed debris quickly.
Essential Tools for Home Repairs
Wrong tools cause most failed DIY repair attempts on modern smartphones. Metal utensils or wrong screwdriver sizes ruin fragile screw heads within seconds, making further disassembly nearly impossible. Delicate internal screws strip very easily, and strong factory glue requires gentle heat before anything opens safely.
Having proper iPhone Repair Tools on hand, safe from unnecessary frame damage, protects delicate flex cables. It enables home repairs. Specialized equipment ensures smooth component swaps and helps you achieve professional repair results at home.

Precision Screwdrivers
Apple devices use specialized pentalobe screws on outer bottom ports and tri-wing screws inside internal shields. Matching screwdriver bits prevent stripped screw heads during frame teardowns.
Non-Conductive Plastic Tools
Metal tools conduct electricity delicate internal parts. Plastic spudgers, nylon probes, and thin opening picks give you safe leverage. These tools help you pop open internal clips without force. You can unseat delicate battery cables and slice through tough frame glue safely. Soft tools protect tiny components and prevent short circuits completely.
Suction Cups and Heat Source
Factory adhesives seal display assemblies tightly inside the outer metal housing. Gentle heat softens tough perimeter glue safely. Heavy-duty suction cups lift display glass away cleanly without cracking fragile edges.
Diagnostic Checks and Simple Maintenance Steps
Simple testing steps isolate hardware faults before you buy expensive replacement parts. Reading model-specific iPhone Repair Guides helps you plan safe fixes for specific device series.
Port Cleaning Routine
Compact lint blocks can block power flow inside open charging sockets. You can clear trapped dirt without opening the device housing.
- Turn off the device power completely before inserting any cleaning object into open ports.
- Inspect the port cavity with a bright flashlight to spot compacted lint blocks.
- Use a soft plastic toothpick to scrape out dirt gently from the back wall.
- Keep tool pressure away from delicate center pin connectors inside the socket.
- Blow compressed air into the port opening to clear loose dust particles completely.
- Plug in an original charging cable to confirm a firm, flush power connection.
Complete Display Replacement Steps
Replacing a broken screen requires patience, clean workspace preparation, and careful screw organization.
Pre-Repair Setup
- Back up your personal device data to cloud services or a desktop computer.
- Discharge your battery below twenty-five percent to eliminate fire risks during handling.
- Set up a flat workspace and lay down a magnetic mat to organize tiny parts.
Opening Device Housing
- Turn off device power completely and remove the side SIM card tray.
- Remove two bottom pentalobe screws located near the charging socket.
- Apply gentle heat along the bottom display edges to soften factory adhesive.
- Attach a suction cup near the home button or bottom screen edge.
- Pull up gently to create a small gap, then insert a plastic pick.
- Slide plastic picks around the left and right frame edges to release internal clips.
Cable Disconnection
- Open the display panel like a book without pulling top display ribbon cables.
- Remove internal metal bracket screws holding down main logic board shields.
- Disconnect the battery flex cable first using a plastic spudger to cut power flow.
- Disconnect display, touch sensor, and front speaker flex cables carefully.
- Separate the broken display assembly from the main rear housing.
Reassembly and Testing
- Transfer front ear speaker assembly and sensor cables to the replacement screen.
- Connect the new display flex cables to the logic board terminals securely.
- Reconnect the battery flex cable to restore circuit power.
- Turn on power to test touch accuracy, color uniformity, and brightness controls.
- Turn off power, apply new frame adhesive, replace metal shields, and close the phone frame.
Conclusion
Fixing your iPhone at home saves money and increases total device lifespan. Simple preventive habits keep battery health high and prevent sudden hardware crashes. When hardware breaks, proper diagnostic steps and correct precision equipment make home repairs safe and straightforward. Practicing careful teardown steps turns complex fixes into manageable weekend tasks.